配置pve源
备份原来的源
mv /etc/apt/sources.list /etc/apt/sources.list.bak
打开文件
vi /etc/apt/sources.list
将以下内容粘贴进去
deb https://mirrors.tuna.tsinghua.edu.cn/debian/ bookworm main contrib non-free non-free-firmware

deb https://mirrors.tuna.tsinghua.edu.cn/debian/ bookworm-updates main contrib non-free non-free-firmware

deb https://mirrors.tuna.tsinghua.edu.cn/debian/ bookworm-backports main contrib non-free non-free-firmware

deb https://security.debian.org/debian-security bookworm-security main contrib non-free non-free-firmware
配置软件源
vi /etc/apt/sources.list.d/pve-no-subscription.list
将以下内容,粘贴进去:
deb https://mirrors.tuna.tsinghua.edu.cn/proxmox/debian/pve bookworm pve-no-subscription
屏蔽企业源
vi /etc/apt/sources.list.d/pve-enterprise.list
改为:也就是前面加#
#deb https://enterprise.proxmox.com/debian/pve bookworm pve-enterprise
禁用ceph源
vi /etc/apt/sources.list.d/ceph.list
改为:也就是前面加#
#deb https://enterprise.proxmox.com/debian/ceph-quincy bookworm enterprise
更新源
apt update
安装pve-headers
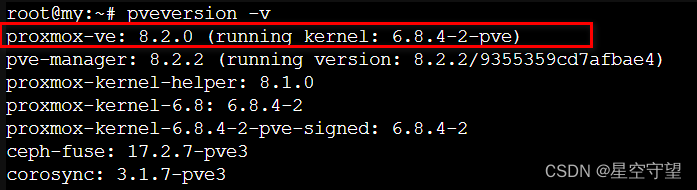
在pve shell执行命令pveversion -v
查看当前内核版本,如
proxmox-ve: 8.2.0 (running kernel: 6.8.4-2-pve)
内核版本就是 6.8.4-2-pve
执行命令安装pve-headers
apt install pve-headers-6.8.4-2-pve
安装编译网卡驱动的软件及zip解压软件unzip
apt install make gcc unzip
下载并安装网卡驱动
驱动地址
下载完成后,传到pve节点上解压
使用unzip命令可进行解压
unzip Release_xx.x.x.zip # 请替换为下载的包
进入解压后的APPS/BootUtil/Linux_x64/DRIVER目录
cd APPS/BootUtil/Linux_x64/DRIVER
执行命令进行安装驱动
chmod +x install && ./install
安装成功,执行reboot重启pve服务器
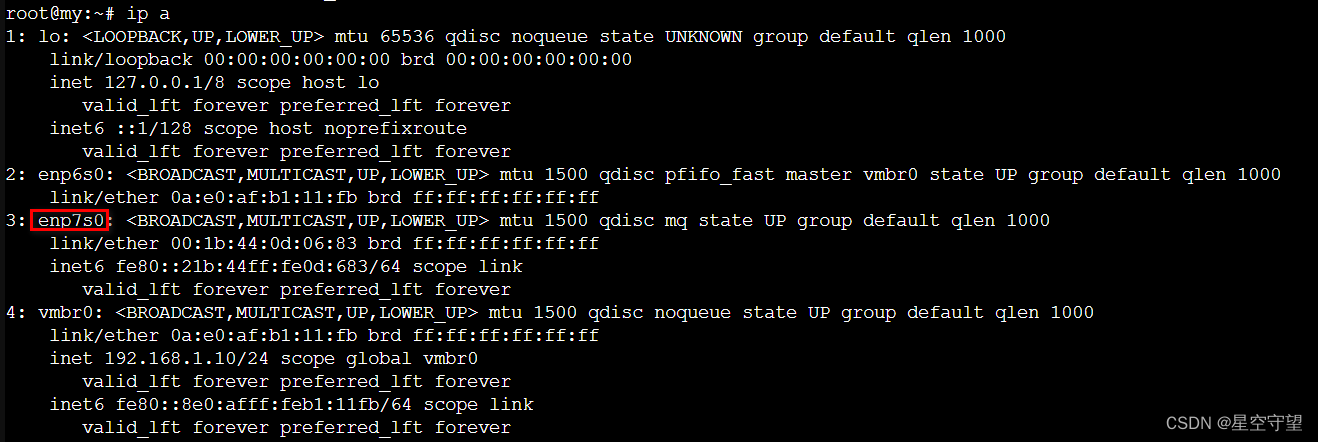
执行ifup 网口名启动网卡
我的网卡名是enp7s0,所以我是ifup enp7s0